Shirin Mehdi
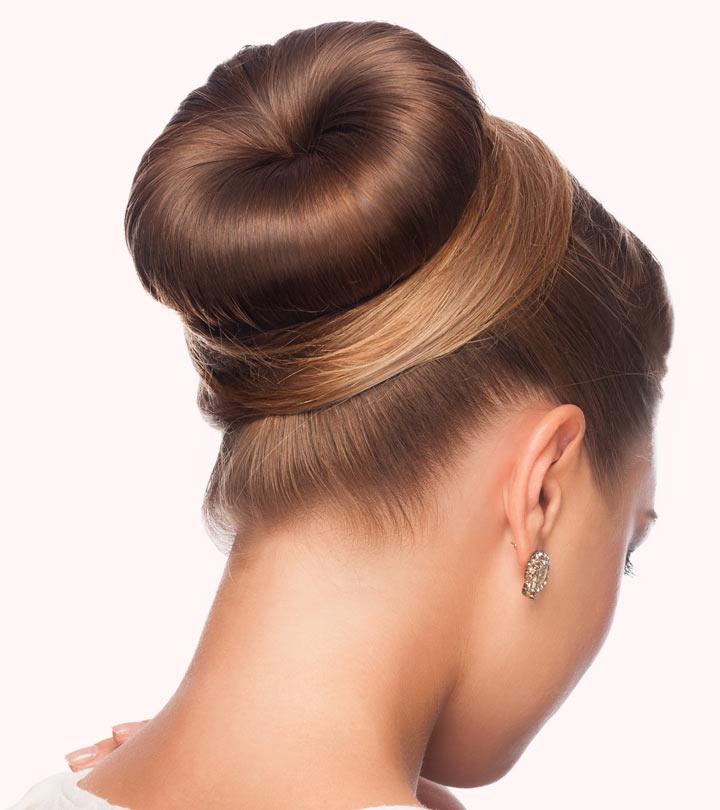
If you think this post is all about the confectionary, think again. We are talking about the trending, elegant, and extremely graceful hairstyle β the donut bun. This chignon, more popular among the air hostesses, is an easy and extremely neat updo. Whether you are having a bad hair day, or a good one, or if the heat is getting on your nerves, or if you are just extremely lazy to wash your hair, this is a great hairstyle to opt for. Getting dressed for work seems so much easier and fun. The best part Β β this hairdo looks great with absolutely any outfit. It will look great on a bride and is also suitable for a bridesmaid. You can wear it to work, or for a party. Whether you pair it with a classy gown, or a sophisticated dress, a graceful sari, or formal business wear, incredibly enough, this hairstyle complements any look or style. It is sure to add instant glam to your ensemble, no matter the occasion.
The donut bun is so versatile that it can even be paired with a French braid. It can go on the side, it can be done high or low, you could create a messy look, or a neat one. Therefore, getting this bun right will allow you to play around and create numerous hairstyles. Doesnβt that sound extremely exciting? So, without further ado, let us get to learn how to do the donut bun.
First, letβs take a look at what you will need to style your tresses into this wonderful updo.
Things You Need:Β
- A Donut Bun (easily available at a fancy store)/A Piece Of Elastic
- A Tail Comb
- Some Plastic Rubber Bands
- Some Bobby Pins
- Hair Spray
A DIY Step β By β Step Guide For Doing The Donut Bun:
Step 1:
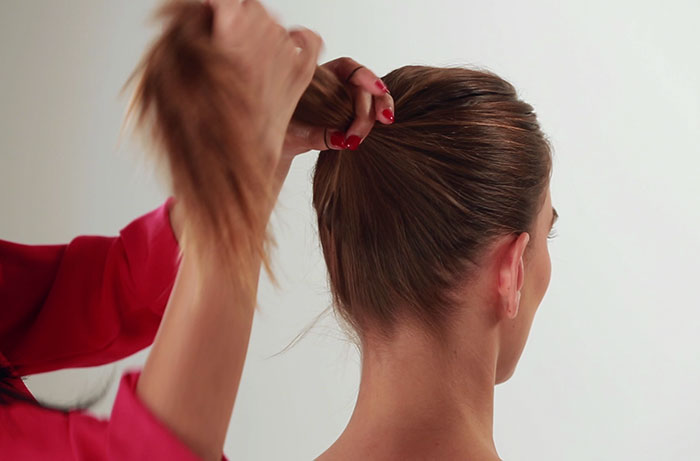
Pull all your hair together, and comb neatly using a tail comb. Push all your hair behind, and hold it into a neat ponytail. Tie it up using a rubber band. This is for a basic and neat airhostess bun, but the neatness quotient really depends on the hairstyle you want to sport. If you want a messy look, or if you want a French braid in the front, you need to make allowance for that before you start the bun. In case you want the bun on the side, you will have to create your ponytail accordingly.
Step 2:
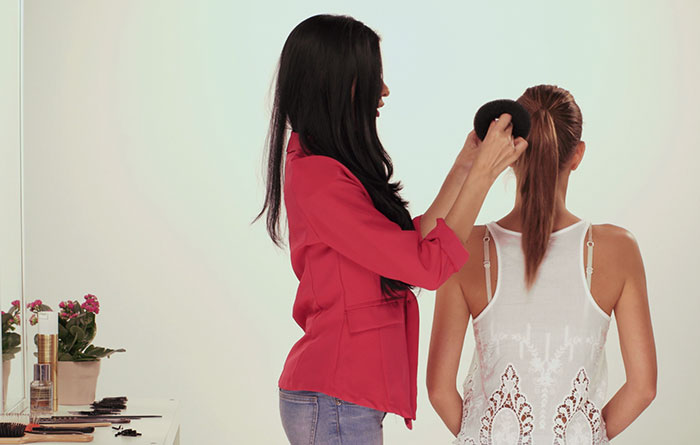
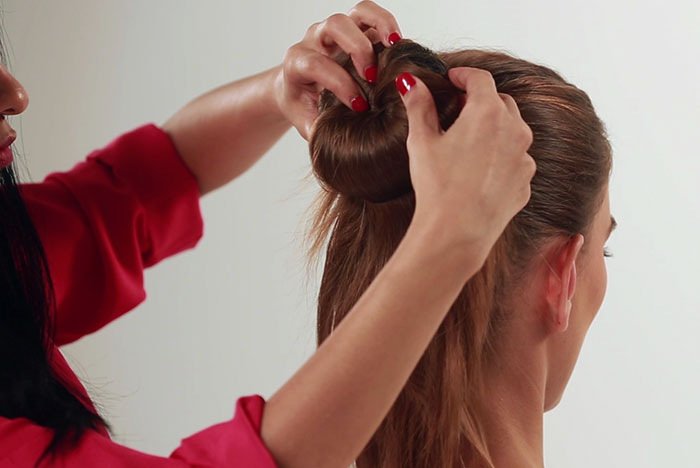
Slip the donut bun, or the elastic, into the ponytail.
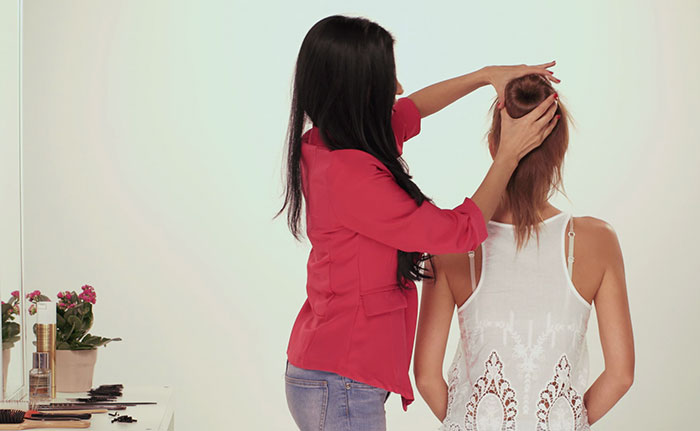
Then, cover the bun with your hair; you will have to use your hands to hold the hair tight.
Once that is done, you could use another rubber band to secure it.
This step is the most important, and can also get a little tricky. With a little practice, you will attain perfection. Initially, you might want to use a mirror that will allow you to see how you work the bun. Once you master the technique, it is going to be much simpler.
Step 3:
Now, you must be wondering what to do with the remaining hair that is sticking out.
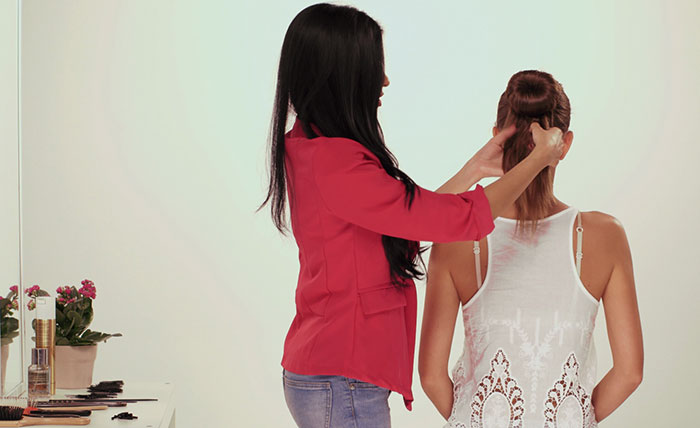
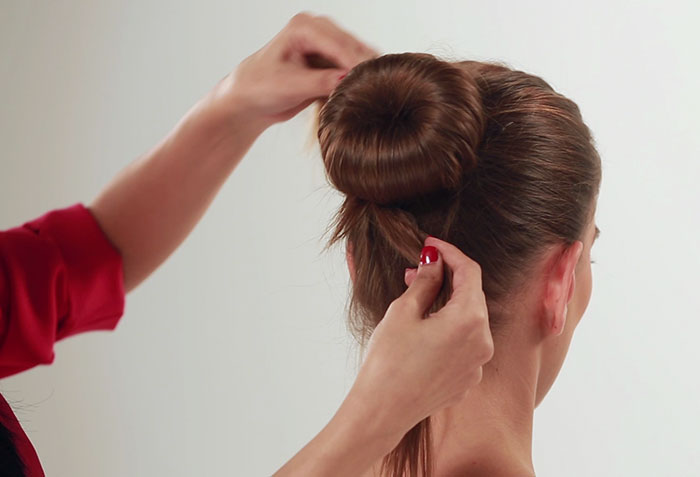
Well, all you need to do is divide it into two parts, and twirl each part around the bun.
Secure this excess hair with bobby pins. In case you want to amp up this simple bun, you could braid the leftover hair, and then secure it to give your bun a fancy frame.
Step 4:
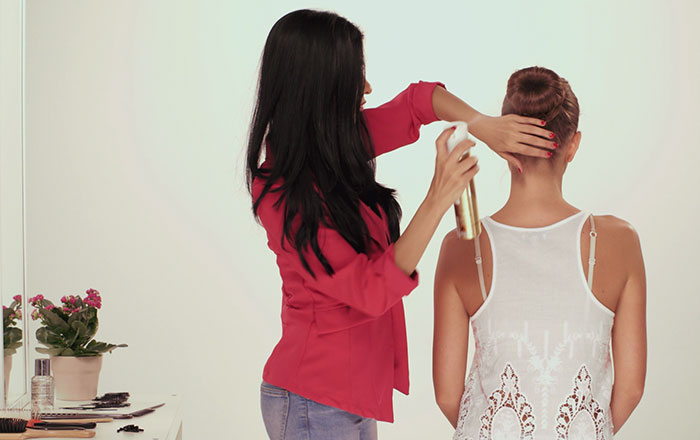
Spritz some hair spray to neaten the stray strands of hair, and to keep the bun in place for a longer duration. Use your tail comb to put all the hair in front in place. There you go β another quick fix hairstyle in your kitty!
Wasnβt that easy? To make perfecting the donut bun a lot easier, take a look at this video:
